
A full route through End of Abyss: Outer Sector to Lower Levels in order, the keys and SCU stops along the way, and which guide covers each area.
End of Abyss Walkthrough: Every Area in Route Order
End of Abyss runs in one fixed route: Outer Sector, Habitation Sector, Communication Center, Factory East, the Reactor, Factory West, Waterworks, Containment Sector, then the Lower Levels by Central Elevator. The only detours are the Infirmary and the optional Brood Keeper. Between the Communication Center and the elevator sit three Security Control Unit overrides — Factory West, Waterworks, Containment — and each is gated by one item you cannot skip. This is the order, the key for each gate, and the guide that covers each area.
- The opening chain is linear: Outer Sector, then Habitation Sector, then the Communication Center, all following Soldier E-19.
- Factory East is the hub you return to from every leg — the Reactor, Factory West, Waterworks and the Containment Sector all hang off it.
- The Central Elevator on Factory East F1 needs all three SCU overrides; nothing else in the game needs three of anything.
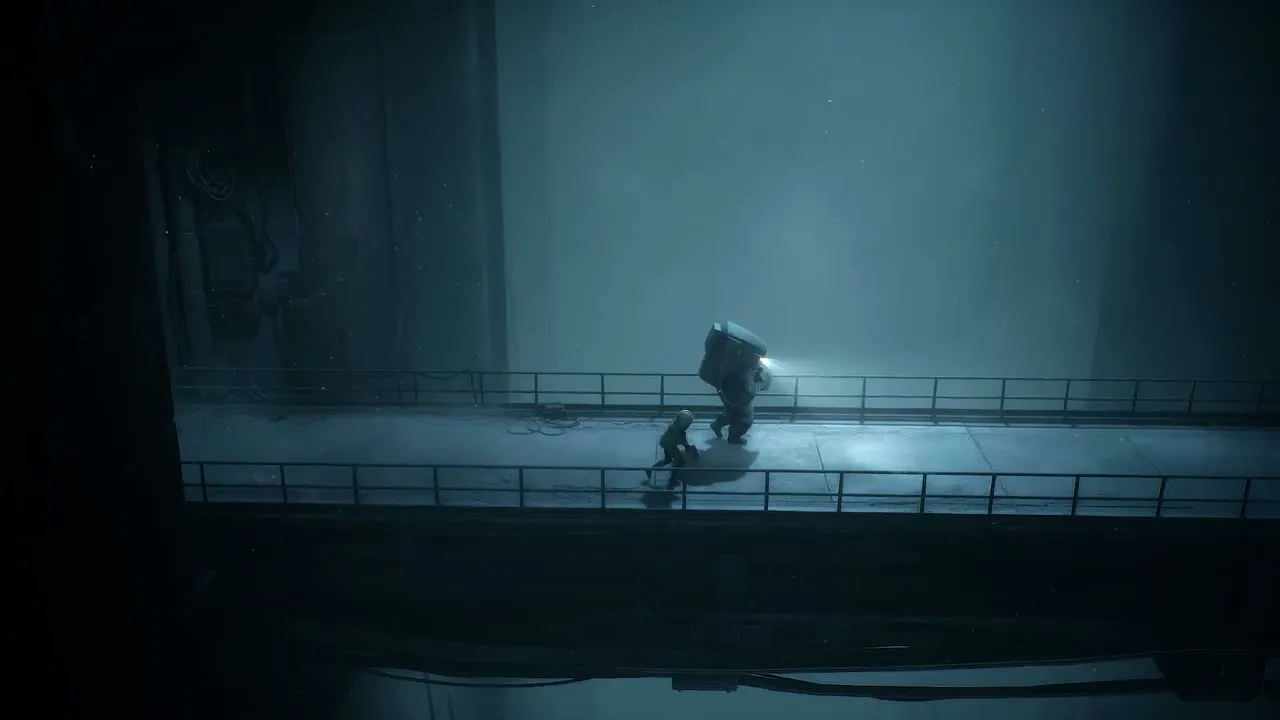
The Route at a Glance
Room-by-room turns come from the GameRant full walkthrough, published October 2, 2026; the gates and keys in this table were re-checked against this site's launch-build guides on October 10, 2026.
| # | Area | The gate that opens it | What it gives you |
|---|---|---|---|
| 1 | Outer Sector | Follow Soldier E-19; lever on the left door; two-node Energy Node Door | Scanner, elevator to Habitation |
| 2 | Habitation Sector | Vent crawl past the Save Room | Worker Access Keycard, Riot Breaker, first shuttle entrance |
| 3 | Communication Center | Worker Access Keycard door, north of the Habitation entrance | First Map Station, first SCU override |
| 4 | Factory East | Husk Cluster cleared, first shuttle activated | Factory Keycard, hub layout, locked Central Elevator |
| 5 | Ventilation Tunnels and Reactor | Factory Keycard, door below the Save Room | Three Power Cells online, reactor power |
| 6 | Factory West | Mechanical Crank from Maintenance, Explosive Charges | SCU 1, two Energy Cells |
| 7 | Waterworks | Operations Key on the workbench | SCU 2, Drowned Husk, drained pool |
| 8 | Containment Sector | Drained pool ladder; Radiation Protection mod equipped | SCU 3, Grappling Hook, F2 shuttle |
| 9 | Lower Levels | Central Elevator, all three SCUs done | Mainframe, Neural Chamber, final section |
Official source: End of Abyss achievements on the Epic Games Store — Shuttle Station Cleared, Sentinel Shutdown and Giantslayer are the developer's own names for the three bosses that sit on this route.
Opening: Outer Sector to the Communication Center
The first hour is a corridor, not an exploration sandbox. You follow Soldier E-19 through the Outer Sector, learn the game's two verbs — pulling levers and using the Scanner — shoot the two Energy Nodes in the wall, and ride the elevator down to the Habitation Sector. The full first-30-minutes sequence is on the beginner guide; the short version is that missing the lever on the left door in the Outer Sector means circling the room for a soldier who never arrives.
In the Habitation Sector, take the Save Room in the northeast corner first: the Restoration Pod there is your save, respawn and refill point for the rest of the run. From the Save Room go east, down to B1, back up to F1, then southeast to the covered vent. The Worker Access Keycard sits past that vent, and it opens the door north of the Habitation entrance into the Communication Center.
The Communication Center holds the first Map Station and the first Security Control Unit override, which is what turns the story and unlocks the shuttle entrance objective back in the Habitation Sector. The Husk Cluster guards the first shuttle station; killing it and activating that station is what opens Factory East.
Energy Node Doors cannot be opened any other way — scan the wall, follow the cables to the nodes, shoot them. Two nodes in the Outer Sector, three in most later areas. The Scanner guide covers what the scan reveals beyond doors.
Factory East and the Reactor
Factory East is the hub: west to Factory West, east stair down to Waterworks, elevator down to the Lower Levels (locked until the end of the chain), and the door below the Save Room that leads to the reactor run once you have the Factory Keycard. The Security Rifle sits on F2 behind that keycard plus Explosive Charges.
The Reactor needs three Power Cells — the same beat the Xbox Wire hands-on played through pre-launch, finding and activating three cores to bring a reactor back online. Two cells are on B2 east and west; the elevator by the western cell drops you to B3, where a lockdown fight in the southwest corner opens a hole in the floor. Clear it, use the Security System Terminal in the room north of the fight, and the final Power Cell back on B2 is the one guarded by the Centipede Husk. Kill it, return to the controls, and the reactor comes online — which is what powers every SCU override after it.
The Three SCU Legs
Factory West. Detour into Maintenance first: the Mechanical Crank is in the northwest corner, and the Large Item Box in the Sealed Hatch room holds an Energy Cell. A second Energy Cell sits east of the SCU room behind two Explosive Charge walls, and the two together are what let you wear the Radiation Protection mod two legs later (Suit Power and Suit Mods). The crank extends the bridges, a three-node Energy Node Door blocks the way, and the weak floor past it drops you by the Security Sentinel and the Factory West SCU.
Waterworks. Enter east from Factory East past the dead Central Elevator, drop down the far ladder, cross the water northeast, and work east to the metal walkways. The Operations Key is on a workbench northeast of them; it opens the door southeast and the ladder down to the Drowned Husk. Kill it, use the terminal beyond to stop the corridor flow, then ride up and override the Waterworks SCU. The pool drain is a separate three-terminal job on B3 — do only the first terminal and you face a full pool with no way down.
Containment Sector. The drained pool's ladder is the way in, but equip the Radiation Protection Suit Mod before you go: it sits on Factory East B2 in the room west of the Basement Keycard lockdown, and the keycard itself is on the ground by the extendable bridge at the sector's west end. Inside, pick up the Grappling Hook off a table past a lockdown, drop through the Isolation Cistern for the Radiation Host, and override the third SCU. The shuttle on F2 takes you back to Factory East.
The Containment Sector drains your health continuously until the Radiation Protection mod is equipped, and the mod is in another building — you cross irradiated rooms to go get it. IGN's reviewer hit exactly this and called the fix pure relief. See the IGN review. If the drain catches you mid-sector, the stuck and locked-door page covers recovery.
The Lower Levels and the Finish
With all three overrides, talk to Soldier E-19 at the Central Elevator on Factory East F1 and ride down. The Unknown Signal objective leads to the Mainframe on B3; two Release Protocol switches follow behind Energy Node Doors, the second needing the Utility Tunnels Key from a body on B4. The Neural Chamber branch starts at the southeast elevator on B3: up to F1, across, down to B2, then the west ladder for the Level I Access card. The Incinerator is on that path and it is mandatory — nothing else clears the Parasitic Growth on the north wall, and the Failed Experiment behind it drops the access card for the Fractured Being.
Two things sit off the main line. The Infirmary is an optional B1 branch carrying the Particle Disruptor, entered through a card hidden by burning floor growth south of the Incinerator. And after your first clear, taking all eight Data Shards to the Mainframe on B3 before the final fight is what opens the secret ending — the full trigger sequence is on the endings page. The seven named bosses and what each gates are in the bosses guide.
If the Route Breaks
Launch builds ship with map and collision faults: doors shown as locked after you opened them, black rooms, invisible walls on ladders. A day-one patch fixed GameSpot's map complaints, but no public patch notes with a version number exist, so treat the rest as unconfirmed. Trust the room, not the map icon, and check map bugs and invisible walls when a door physically will not open. For which item opens which door, work the key and keycard table by symptom. Floor labels for every area are on the map and areas page, and the shuttle station list shows which legs you can skip walking twice.
FAQ
What order do the areas go in End of Abyss? Outer Sector, Habitation Sector, Communication Center, Factory East, Ventilation Tunnels and Reactor, Factory West, Waterworks, Containment Sector, then the Lower Levels by Central Elevator. Nothing lets you reorder the three SCU legs — each one hands you the item the next needs.
Where are the three SCU overrides? Factory West (past the Mechanical Crank and the Security Sentinel), Waterworks (past the Drowned Husk and the water terminal), and Containment Sector (past the Radiation Host). All three are required before the Central Elevator on Factory East F1 will move.
What is the one item everyone gets stuck on? Mostly the Radiation Protection Suit Mod, because it is not in the Containment Sector — it is on Factory East B2 behind the Basement Keycard, and you take radiation damage crossing back out to reach it. The Operations Key at Waterworks and the Incinerator for the Parasitic Growth are the other two walls.
Can I explore freely or is it a set route? The route is set, but the branches are yours: the Infirmary on B1, the optional Brood Keeper in the Ventilation Tunnels, the vaults, and the Support Gun sitting back in Outer Sector B2 — that last one only becomes reachable once you are deep in the Lower Levels, so do not expect to grab it on the way through. The map and areas table marks which floors belong to which.
How long does the full route take? Media playthroughs cluster around 10 to 15 hours — IGN's reviewer finished in roughly 10, GameSpot logged 13. There is no official figure. The how long to beat page has the breakdown.
Related Guides
- Beginner guide — the first 30 minutes, room by room.
- Map and areas — every sector with its floors and landmarks.
- SCUs and the Central Elevator — the three overrides in detail, step by step.
- Stuck and cannot progress — which key opens which door, by symptom.
- Fast travel shuttle stations — the seven stations and the zones they miss.
More End of Abyss Guides
End of Abyss death costs no stats but your spent ammo and explosives stay gone. The real difficulty curve, and how to survive the first hours.
End of Abyss has two endings. Finish the normal ending, then carry all 8 Data Shards to the Mainframe on B3 and beat the final boss again.
Where all 7 End of Abyss shuttle stations are, which sectors each one links, and why the shuttle network still cannot reach every area in the facility.
End of Abyss is a short descent: about 10-13 hours for the story, and considerably more to fill the Logbook, every Vault and every weapon to max.
End of Abyss spawns random invisible walls and a map that marks open doors as locked. What each bug looks like and how to get past it.
Where the Janitor Key sits in the Habitation Sector, which doors it opens, and the Energy Cell on F2 gated behind it and the Block A key.
Every End of Abyss area and floor in one table: Outer Sector, Habitation, Factory East and West, Waterworks, Containment Sector, Lower Levels.
Husks, Lurkers and the Husk Latcher all attack differently. How each enemy behaves, the grenade and red-barrel tactics that beat them, and how respawns work.